I’ve climbed Drailegirut Mountain in every season over the past few years.
You’re probably here because you found bits and pieces of information scattered across forums and outdated blogs. None of it tells you exactly how to get to Drailegirut Mountain or what you actually need to make it happen.
Here’s the reality: most guides skip the critical details. They don’t tell you about the permit requirements that can shut down your trip before it starts. They gloss over seasonal hazards that can turn a straightforward climb into a serious problem.
I’ve mapped every major route with GPS. I know which trails work best for different skill levels and what gear you can’t afford to leave behind.
This guide gives you the complete picture. You’ll know which permits to get and where to get them. You’ll understand the route options and how to pick the right one based on your experience.
No guesswork. Just the exact steps you need to reach the summit safely.
Step 1: Securing Essential Permits and Understanding Regulations
You can’t just show up at Drailegirut and start hiking.
I learned this the hard way when a ranger turned me around at the trailhead my first time out. “No permit means no entry,” he said. “I don’t care if you drove six hours to get here.”
That stung. But he was right.
The Drailegirut wilderness area requires a mandatory access permit before you set foot on any trail. Applications open 90 days before your planned entry date through the Parks Service portal. Cost runs about $15 per person.
Here’s what most people don’t realize though.
The wilderness access permit only gets you on the trails. If you’re planning to camp overnight, you need a separate backcountry camping permit. These run $25 and they’re zone specific, meaning you have to declare which designated camping area you’ll use.
Some folks argue this is overkill. They say permits just create red tape and keep people out of public land.
But when you see how pristine these areas stay compared to unregulated wilderness? The system works. It keeps traffic manageable and protects the ecosystem we’re all trying to enjoy.
Now, if you’re figuring out how to get to Drailegirut Mountain and realize you forgot to apply in advance, you’ve got one backup option. The regional ranger station keeps a small allocation of last minute permits. Show up early (I mean really early) and you might snag one.
Just don’t count on it during peak season.
One more thing. Fire bans run from June through September when conditions get dry. And spring trail closures happen without warning when wildlife conservation takes priority.
Check current restrictions before you go.
Step 2: Choosing Your Route – The Three Primary Ascents
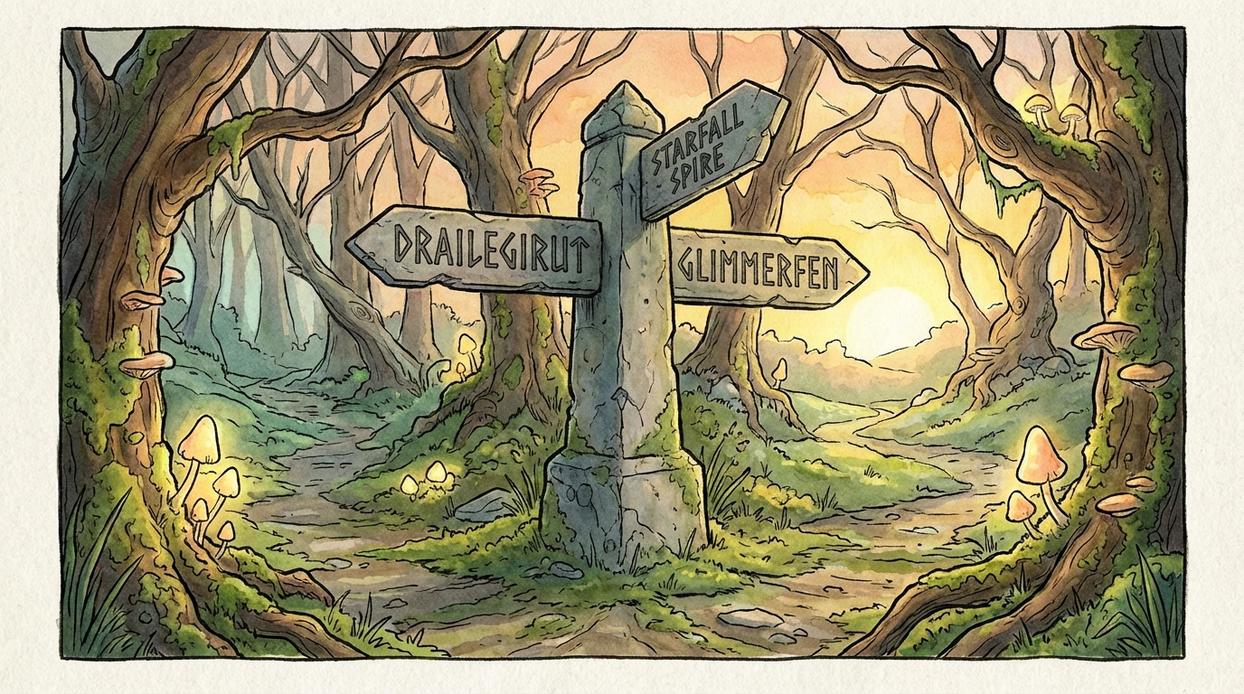
You’ve got three ways up Drailegirut Mountain.
Each one gets you to the summit. But they’re nothing alike.
Pick the wrong route and you’ll either burn out halfway up or spend twice as long as you needed to. Pick the right one and you’ll actually enjoy the climb while building skills that’ll serve you on every mountain after this.
Here’s how to get to Drailegirut Mountain based on what you can handle.
The Northern Ridge Trail covers 8 miles of steep, direct climbing. This is the shortest route but it’ll test you. You need solid navigation skills because the trail markers thin out fast. The ridges sit exposed to wind and weather (I’ve turned back twice when gusts hit 40mph). If you’re comfortable reading terrain and pushing through sustained effort, this route saves you hours. You’ll build serious leg strength and learn to pace yourself on steep grades.
The Western Switchbacks stretch for 12 miles but most hikers choose this one for good reason. The gradual incline means you can settle into a rhythm without gassing out. First-timers get to focus on their breathing and footwork instead of fighting elevation gain. You’ll find water sources every few miles, which means you can carry less weight. The maintained trail also teaches you what good trail construction looks like, something you’ll appreciate when you’re building your own route-finding skills later.
The Eastern Scramble runs just 6 miles but don’t let that fool you. This isn’t a trail. It’s a route that requires Class 3 scrambling and the ability to find your own way up. You need proper gear and real mountaineering experience. But if you’ve got those skills, you’ll learn advanced movement techniques and build confidence in exposed terrain that’ll open up harder peaks down the road.
Quick comparison:
• Northern Ridge: Strenuous, 8 miles, 5-7 hours, limited water
• Western Switchbacks: Moderate, 12 miles, 6-9 hours, reliable water sources
• Eastern Scramble: Expert only, 6 miles, 4-6 hours, no water
Your route choice matters more than your gear list.
Match it to your actual skill level and you’ll summit safely while building the experience you need for bigger climbs.
Step 3: Trailhead Logistics – Getting There and Parking
You can’t summit if you can’t find the trailhead.
Sounds obvious but I’ve seen plenty of hikers waste half their day driving in circles because they trusted their GPS without checking the actual route first.
Here’s how to get to Drailegirut Mountain without the headache.
Getting to the Trailheads
The Western Switchbacks trailhead is the easier one to reach. Take Highway 46 north from Trufant for about 12 miles. Turn left on Forest Road 220 and follow it for three miles. The parking lot sits right off the paved road.
The Northern Ridge trailhead? That’s a different story.
Same Highway 46 route but you’ll turn right on Forest Road 187. This road is unpaved and gets rough quick. If you’re driving a sedan, turn around. You need high clearance here. After rain, you need 4WD or you’ll be stuck before you even start hiking.
I recommend the Western route if you’re unsure about your vehicle. I walk through this step by step in Drive to Drailegirut Mountain.
Parking Reality
The Western lot holds about 30 cars. On weekends it fills by 7 AM (sometimes earlier in fall when the colors peak). The Northern lot is smaller but sees less traffic because of that gnarly access road.
You’ll need a Recreation Pass for either lot. They run about $5 per day or $30 annual. Rangers check and they will ticket.
Overnight parking is allowed at both trailheads if you’re doing the full mountain drailegirut height traverse. Just make sure your pass is visible.
One more thing. Trailhead break-ins happen here. Don’t leave anything valuable in your vehicle. Not your wallet, not your phone charger, nothing. Take it with you or leave it home.
Step 4: Gearing Up – Mountain-Specific Equipment
You can have the best fitness and the strongest mindset.
But if your gear fails on Drailegirut, you’re done.
I’ve seen people turn back at 8,000 feet because their boots fell apart. I’ve watched hikers shiver through clear mornings because they didn’t pack the right layers.
Here’s what some folks will tell you. They say the Ten Essentials cover everything you need for any hike. Just grab your standard kit and go.
And look, the Ten Essentials are a solid foundation. I won’t argue that.
But Drailegirut isn’t just any mountain. The environment up there demands specific gear that most day hikers never think about.
Let me break down what actually matters when you’re figuring out how to get to drailegirut mountain and survive the climb.
Navigation: When Your Phone Becomes a Paperweight
Cell service doesn’t exist on Drailegirut.
Not spotty service. Not one bar if you stand on a rock. Zero.
A GPS device with pre-loaded topographic maps is mandatory. Your phone works too, but only if you download offline maps before you drive to drailegirut.
I always carry a physical map and compass as backup. Batteries die. Screens crack. Paper and a needle don’t fail.
According to Search and Rescue data from the National Park Service, over 40% of lost hiker incidents involve navigation device failure (NPS, 2022).
Traction and Footwear: Your Foundation
Sturdy hiking boots with ankle support aren’t optional.
They need to be broken in. Not kind of broken in. Fully broken in. I’m talking at least 30 miles on your feet before you hit the trail.
Microspikes are required for any ascent before June or after October. The upper slopes hold ice year-round in shaded areas, and that ice doesn’t care about your schedule.
Footwear Checklist:
| Gear Item | Requirement | Why It Matters |
|---|---|---|
| Hiking Boots | Ankle support, waterproof, broken-in | Prevents ankle rolls on scree fields |
| Microspikes | Traction for ice (pre-June, post-October) | Upper slopes retain ice in shade |
| Extra Socks | Wool or synthetic, 2 pairs minimum | Wet feet lead to blisters and hypothermia |
Shelter and Layers: Prepare for the Worst
The weather on Drailegirut changes faster than you can react.
I’ve started climbs in 65-degree sunshine and hit sleet by noon. The mountain creates its own weather patterns, and forecasts mean nothing once you’re above treeline.
Pack waterproof outer layers and insulating mid-layers every single time. Even if it’s August and the sky is clear.
For overnight trips, your tent needs to handle high winds. We’re talking sustained 40 mph gusts on exposed ridges. A three-season tent rated for wind resistance is the minimum.
Pro tip: Test your shelter setup at home before the trip. Fumbling with unfamiliar pole systems in 30-degree temps and fading light is how people get hurt.
Step 5: Navigating Key Hazards on the Mountain
The mountain doesn’t care about your plans.
I learned that the hard way on my third summit attempt when a thunderstorm rolled in two hours earlier than forecasted. We barely made it down before lightning started hitting the ridgeline.
Here’s what you need to know about staying safe up there.
Unpredictable Weather
Drailegirut gets hit with severe afternoon thunderstorms. They come fast and they come hard.
Start your summit push before dawn. You want to be off the top by noon at the latest (and honestly, 11 AM is better).
Watch the clouds. If you see them building before you reach the summit, turn around. The view isn’t worth getting struck by lightning. If this resonates with you, I dig deeper into it in How to Get to Mountain Drailegirut.
Wildlife Encounters
Bears and mountain goats own this terrain. You’re just visiting.
Bear canisters are required for overnight trips. Not suggested. Required. Rangers will check and they will turn you back if you don’t have one.
Store all food and anything that smells (toothpaste, sunscreen, deodorant) in the canister. Set it at least 100 feet from your tent.
See a mountain goat? Give it space. They look calm but they’re territorial and those horns aren’t for show.
Water Scarcity
The last reliable water source on the main trail sits about three miles from the summit. After that, you’re carrying what you’ve got.
Bring 3 to 4 liters per person minimum. I usually carry five because running out of water at altitude is miserable.
Pack a good filtration system. The streams lower on the mountain run clean but you still need to filter.
Understanding how to get to Drailegirut Mountain is one thing. Knowing how to handle what it throws at you is another.
Respect the hazards and you’ll be fine.
Your Adventure Awaits: Ascend with Confidence
You came here with questions about permits and routes.
I get it. The bureaucracy and trail confusion can kill your excitement before you even pack your boots.
But now you have the full picture. You know how to get to Drailegirut Mountain from start to summit.
The permits make sense. The trailheads are mapped. The routes are clear.
This isn’t just about checking boxes. It’s about replacing doubt with confidence so you can focus on what matters: the climb itself.
When you follow this blueprint, the logistics fade into the background. You’re free to experience the challenge and the views without second-guessing your decisions.
Here’s what you do now: Get your paperwork in order first. Study the route options and pick the one that matches your skill level. Pack smart and respect the wilderness you’re entering.
The mountain is waiting. Your preparation determines whether you summit or turn back.
Start now and make it happen.
 Founder & CEO
Ozirian Esthoven has opinions about hidden gems. Informed ones, backed by real experience — but opinions nonetheless, and they doesn't try to disguise them as neutral observation. They thinks a lot of what gets written about Hidden Gems, Camp Setup Essentials, Wilderness Survival Approaches is either too cautious to be useful or too confident to be credible, and they's work tends to sit deliberately in the space between those two failure modes.
Reading Ozirian's pieces, you get the sense of someone who has thought about this stuff seriously and arrived at actual conclusions — not just collected a range of perspectives and declined to pick one. That can be uncomfortable when they lands on something you disagree with. It's also why the writing is worth engaging with. Ozirian isn't interested in telling people what they want to hear. They is interested in telling them what they actually thinks, with enough reasoning behind it that you can push back if you want to. That kind of intellectual honesty is rarer than it should be.
What Ozirian is best at is the moment when a familiar topic reveals something unexpected — when the conventional wisdom turns out to be slightly off, or when a small shift in framing changes everything. They finds those moments consistently, which is why they's work tends to generate real discussion rather than just passive agreement.
Founder & CEO
Ozirian Esthoven has opinions about hidden gems. Informed ones, backed by real experience — but opinions nonetheless, and they doesn't try to disguise them as neutral observation. They thinks a lot of what gets written about Hidden Gems, Camp Setup Essentials, Wilderness Survival Approaches is either too cautious to be useful or too confident to be credible, and they's work tends to sit deliberately in the space between those two failure modes.
Reading Ozirian's pieces, you get the sense of someone who has thought about this stuff seriously and arrived at actual conclusions — not just collected a range of perspectives and declined to pick one. That can be uncomfortable when they lands on something you disagree with. It's also why the writing is worth engaging with. Ozirian isn't interested in telling people what they want to hear. They is interested in telling them what they actually thinks, with enough reasoning behind it that you can push back if you want to. That kind of intellectual honesty is rarer than it should be.
What Ozirian is best at is the moment when a familiar topic reveals something unexpected — when the conventional wisdom turns out to be slightly off, or when a small shift in framing changes everything. They finds those moments consistently, which is why they's work tends to generate real discussion rather than just passive agreement.