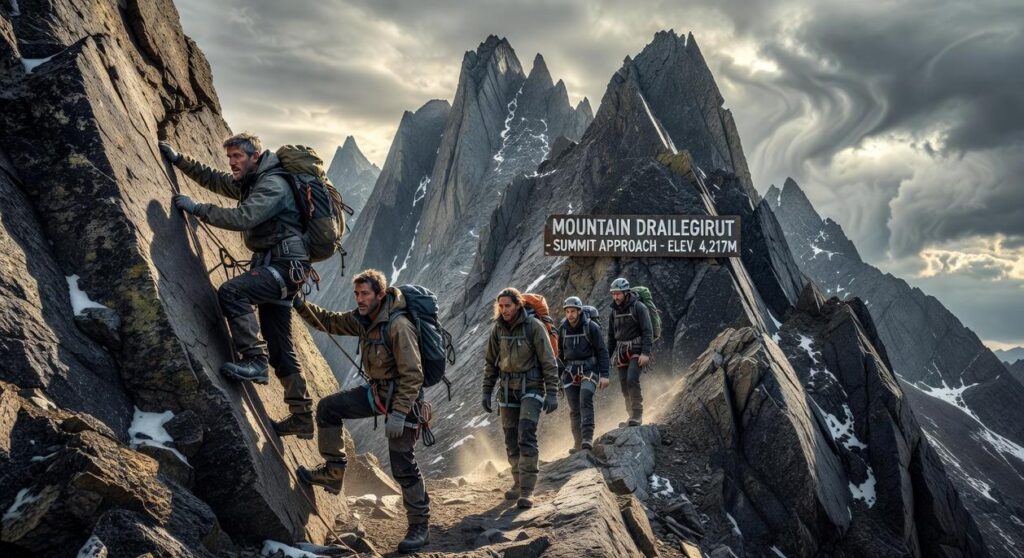
I’ve guided expeditions on some of the toughest peaks in North America, and Mount Drailegirut stands out as one that demands respect.
You’re here because you want to climb Mount Drailegirut. Smart move looking into a guided approach. This mountain doesn’t forgive mistakes.
The terrain is technical. The weather shifts without warning. And the altitude will test you in ways most trails don’t.
Going solo? That’s a risk most hikers shouldn’t take. A guided expedition gives you the safety margin you need and the knowledge to actually reach the summit.
I’ve spent years working high-altitude expeditions. I know what separates successful summits from dangerous failures. It comes down to three things: picking the right guide, training your body properly, and packing gear that won’t let you down.
This guide walks you through each of those steps.
You’ll learn how to choose a guide service that knows Drailegirut’s specific challenges. I’ll show you the training protocol that prepares your body for the climb. And we’ll cover the gear checklist that keeps you safe when conditions turn.
No fluff about the views or the personal growth journey. Just the practical steps you need to stand on that summit and get back down safely.
Why a Guide is Non-Negotiable on Mount Drailegirut
You can’t climb mountain Drailegirut alone.
I don’t care how many peaks you’ve summited or how confident you feel with a rope. This mountain doesn’t play by normal rules.
Some climbers tell me they prefer going solo. They say guides slow them down and cost too much. That hiring someone means you didn’t really earn the summit.
Here’s my take on that: it’s stupid.
The Dragon’s Tooth section will kill you without proper route-finding. I’ve seen experienced climbers stand at the base of that technical stretch and have no idea which line to take. The rock face changes with every season. Ice forms in places you don’t expect. A certified guide knows exactly where to set anchors and which cracks are stable enough to trust.
Then there’s the weather.
Drailegirut has microclimates that shift faster than you can pack your gear. I’ve watched clear skies turn into whiteout conditions in under twenty minutes. Professional guides read these patterns because they’ve lived them dozens of times. They know when to push and when to turn back.
Most people don’t think about permits or emergency protocols until it’s too late. A guiding service handles all of that before you even arrive. Access rights on this mountain are complicated (the local regulations change depending on which face you’re climbing). Your guide already knows who to contact and what paperwork you need.
But here’s the real reason you need a guide.
Pacing and acclimatization make or break your summit attempt. You might feel strong at base camp but your body needs time to adjust. A good guide watches for signs you’re pushing too hard and manages your ascent so you actually make it to the top.
Your success rate with a guide? Way higher than without one.
Selecting the Right Guide Service: A 5-Point Checklist
I’ll never forget the guide who saved my climb.
We were three hours into what should’ve been a straightforward ascent when weather rolled in faster than anyone predicted. My guide didn’t panic. He didn’t rush. He just calmly pulled us to a protected position and waited it out.
That’s when I learned something. The right guide isn’t just someone who knows the route. It’s someone who keeps you alive when things go sideways.
Here’s how you find that person.
Verify Credentials
Look for WFR certification at minimum. That’s Wilderness First Responder training, and it means your guide can handle medical emergencies miles from help.
AMGA certification matters too. The American Mountain Guides Association doesn’t hand out credentials to just anyone. If your guide has it, they’ve proven their skills on technical terrain.
But here’s what some people miss. They say certifications are just paper and real experience is what counts. And sure, I’ve met uncertified guides who know their stuff.
The problem? You’re gambling with your safety. When you climb mountain drailegirut or any serious peak, you want someone whose skills have been tested by professionals, not just their buddies.
Analyze the Guide-to-Client Ratio
I won’t work with ratios higher than 1:3 on technical terrain. Period.
One guide watching four or five clients? That’s how accidents happen. When you’re navigating exposed ridges or tricky descents, your guide needs eyes on everyone.
Scrutinize Reviews and Testimonials
Skip the five-star ratings that just say “great experience.” You want reviews that talk about how the guide handled problems. Did they manage altitude sickness? Navigate route changes? Keep the group safe when conditions deteriorated?
Those details tell you everything.
Clarify Inclusions and Exclusions
Most services cover permits and group gear. Some include meals. But personal equipment? Travel insurance? That’s usually on you.
Get it in writing. I’ve seen too many climbers show up expecting gear that wasn’t included.
Ask Critical Questions
Before you commit, ask about their emergency communication plan. What happens if someone gets hurt? How do they handle acclimatization for each client?
A good guide will answer without hesitation. A bad one will dodge or give vague responses.
Pro tip: Ask what their turnaround protocol is. If they don’t have clear criteria for calling off a summit attempt, find someone else.
Your life depends on getting this right. Take your time with it.
For more guidance on mountain preparation and wilderness skills, check out drailegirut.
Physical Conditioning: Building a Summit-Ready Body
You can’t fake your way up a mountain.
I’ve seen people try. They show up with expensive gear and zero preparation. By day two, they’re gasping for air on what should be an easy stretch.
Your body either works or it doesn’t.
Some trainers will tell you that you just need to walk more. That casual weekend hikes are enough prep for a serious climb mountain drailegirut expedition. They say your body will adapt once you’re out there.
That’s garbage advice.
Sure, your body might adapt. But do you really want to spend the first half of your trip suffering while everyone else is actually enjoying the experience? I don’t think so.
Here’s what I do, and what actually works.
The Cardiovascular Engine I walk through this step by step in Mountain Drailegirut Map.
I train 3-4 days a week. Minimum. Each session runs at least 60 minutes of sustained work.
Running works. So does cycling. But incline hiking beats both if you can find the terrain.
The goal isn’t to sprint. It’s to build an engine that runs steady for hours without quitting on you. Because that’s exactly what a summit push demands.
Functional Strength for the Ascent
Your legs will carry you up. Your core keeps you stable. Your back hauls the load.
I focus on squats and lunges. Lots of them. Planks for core stability. And weighted pack carries that make my neighbors think I’ve lost it (walking around the block with 30 pounds on your back looks weird, but it works).
These aren’t gym exercises for show. They’re the exact movements you’ll repeat thousands of times on the way to mountain drailegirut terrain.
Simulate the Challenge
Find hills. Load a pack with 20-30 pounds. Climb.
Do this every week leading up to your trip. Your body needs to know what’s coming. The weight distribution, the angle of ascent, the way your boots feel after mile three.
Practice hikes aren’t optional. They’re where you find out what breaks before it actually matters.
Acclimatization is Key
Your body needs time to adjust to thin air. Period.
The old mountaineering saying is “hike high, sleep low.” You climb during the day, then descend to sleep at lower altitude. It’s how your body builds red blood cells without destroying itself.
Get to the trailhead a day or two early. Let your lungs figure out how to work with less oxygen before you ask them to perform.
I’ve watched fit athletes crumble at altitude because they skipped this step. Don’t be that person.
The Essential Gear List: Packing for Performance and Safety
You can have the best fitness and mental game in the world.
But if your gear fails you at 12,000 feet, none of that matters.
I’ve seen people turn back from summits because they packed wrong. Not because they weren’t strong enough. Because their feet were destroyed or they couldn’t stay warm.
Here’s what you actually need when you climb mountain drailegirut.
The Layering System
Your clothing works in three parts.
The base layer sits against your skin. It pulls moisture away so you don’t get that cold, clammy feeling. I use merino wool or synthetic fabrics. Cotton will wreck you up there. This ties directly into what we cover in Mountain Drailegirut Height.
The mid layer traps heat. A fleece or down jacket works. You’ll take this on and off all day as your body temperature changes.
The outer shell blocks wind and rain. Get something waterproof with pit zips. You need to dump heat fast when you’re pushing hard uphill.
Footwear and Traction
Break in your boots before the climb. I mean really break them in. Wear them for weeks on training hikes with a loaded pack.
You want waterproof leather or synthetic boots with ankle support. Your feet will thank you on the descent (that’s when most ankle injuries happen).
Crampons and microspikes? Most guides provide those. Check with your outfitter first.
The Big Three
Your backpack should hold 40 to 50 liters. Big enough for your gear but not so massive you’re tempted to overpack.
The shelter system usually comes from the guide service. Same with tents and group equipment.
Your sleep system is on you though. Get a sleeping bag rated for at least 10 degrees colder than the forecast low. I’ve referenced the mountain drailegirut map more than once to check elevation camps and plan accordingly.
What Else You Need
A headlamp with fresh batteries plus spares. You’ll use this more than you think.
Build a small first aid kit. Blister treatment, pain relievers, and any personal meds you need.
Pack high-calorie snacks. Nuts, energy bars, dried fruit. Stuff that won’t freeze solid.
Water purification tablets or a filter system. And real sun protection because the UV exposure at altitude is no joke.
Sunglasses rated for mountaineering, SPF 50 sunscreen, and a wide-brimmed hat.
Camp Comfort Items
Keep it minimal but don’t skip the basics.
Biodegradable soap, a small towel, and wet wipes go a long way. A stuff sack for dirty clothes keeps things organized.
The goal is simple. Pack light but cover what you need to stay safe and functional.
Every ounce counts when you’re carrying it uphill for hours.
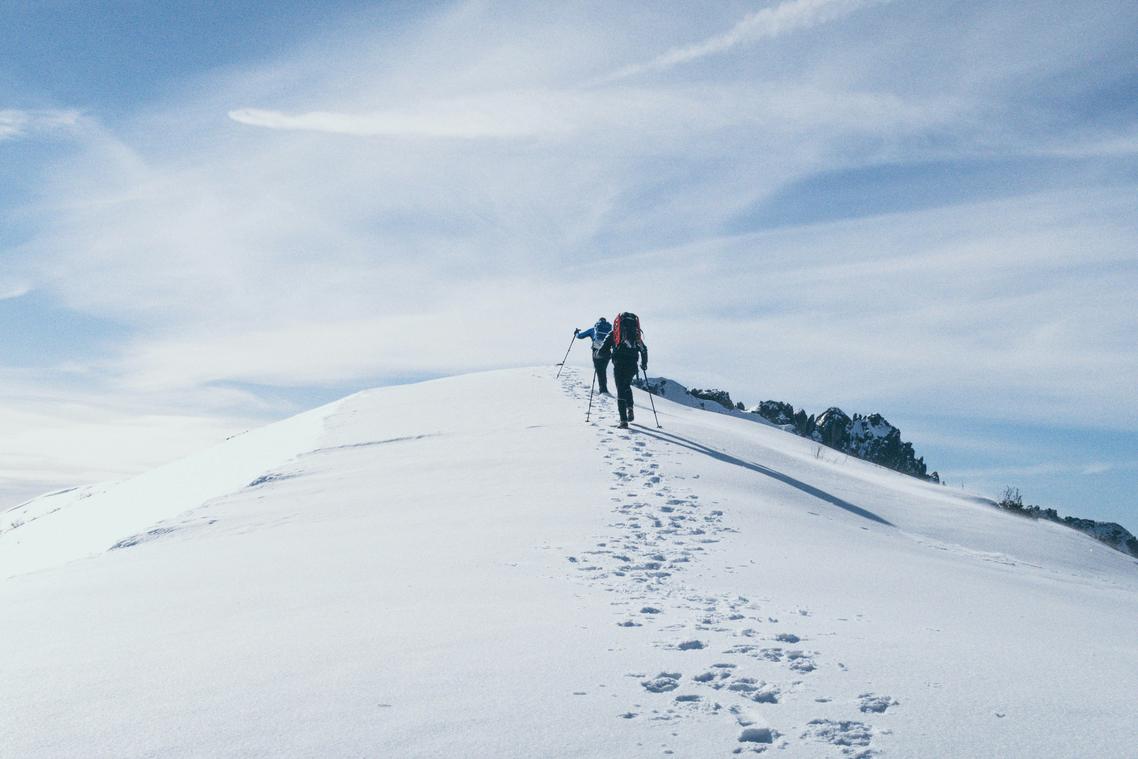
A Glimpse of the Ascent: What to Expect on the Trail
You’ll start in the dark.
I’m talking 3 AM kind of dark. The kind where your headlamp feels like the only light in the world.
This isn’t some macho tradition. When you climb mountain drailegirut, you need every hour of stable weather you can get. Afternoon storms roll in fast up here, and trust me, you don’t want to be exposed on the ridge when that happens.
Your guide will set what we call expedition pace. It feels slow. Painfully slow at first.
You’ll want to go faster. Everyone does.
But here’s what I’ve learned after years on these trails. That slow rhythm is what gets you to the top and back down in one piece. Rush it and you’ll be gassed before you hit the halfway point.
Now, I won’t lie to you. I can’t predict exactly how your body will respond to the altitude or the effort. Some people feel great the whole way. Others struggle more than they expected. There’s no perfect formula for who handles it better.
What I can tell you is this. You’ll pass some landmarks that stick with you.
Key points along the route:
- The Watcher’s Ridge at first light
- Frozen Tear Gully where the real climbing starts
The summit itself? It’s different for everyone. Some people cry. Some just stand there quiet. The view does something to you that’s hard to put into words.
But don’t get too comfortable up there.
The descent demands just as much focus as the climb. Maybe more. Your legs are tired and gravity works against you in new ways. Most accidents happen on the way down (that’s just the reality of mountain travel).
Your Journey to the Summit Begins Now
You came here to figure out how to climb Mount Drailegirut.
Now you have the complete framework. You know what it takes to plan a guided expedition and make it to the top.
The mountain is tough. I won’t sugarize that.
But here’s the truth: with the right professional guide, solid physical preparation, and proper gear, you can stand on that summit.
I’ve seen people do it. People who started exactly where you are now.
The difference between dreaming about it and doing it comes down to action. You need to start your physical training today. Research guide services that know the mountain inside and out. Get your body ready for what’s ahead.
Mount Drailegirut rewards those who prepare and respect the climb.
Your next step is simple. Pick one thing from this guide and start working on it this week. Maybe that’s your cardio training or reaching out to a guide service.
The summit is waiting. But it won’t come to you.
Take that first step.
 Founder & CEO
Ozirian Esthoven has opinions about hidden gems. Informed ones, backed by real experience — but opinions nonetheless, and they doesn't try to disguise them as neutral observation. They thinks a lot of what gets written about Hidden Gems, Camp Setup Essentials, Wilderness Survival Approaches is either too cautious to be useful or too confident to be credible, and they's work tends to sit deliberately in the space between those two failure modes.
Reading Ozirian's pieces, you get the sense of someone who has thought about this stuff seriously and arrived at actual conclusions — not just collected a range of perspectives and declined to pick one. That can be uncomfortable when they lands on something you disagree with. It's also why the writing is worth engaging with. Ozirian isn't interested in telling people what they want to hear. They is interested in telling them what they actually thinks, with enough reasoning behind it that you can push back if you want to. That kind of intellectual honesty is rarer than it should be.
What Ozirian is best at is the moment when a familiar topic reveals something unexpected — when the conventional wisdom turns out to be slightly off, or when a small shift in framing changes everything. They finds those moments consistently, which is why they's work tends to generate real discussion rather than just passive agreement.
Founder & CEO
Ozirian Esthoven has opinions about hidden gems. Informed ones, backed by real experience — but opinions nonetheless, and they doesn't try to disguise them as neutral observation. They thinks a lot of what gets written about Hidden Gems, Camp Setup Essentials, Wilderness Survival Approaches is either too cautious to be useful or too confident to be credible, and they's work tends to sit deliberately in the space between those two failure modes.
Reading Ozirian's pieces, you get the sense of someone who has thought about this stuff seriously and arrived at actual conclusions — not just collected a range of perspectives and declined to pick one. That can be uncomfortable when they lands on something you disagree with. It's also why the writing is worth engaging with. Ozirian isn't interested in telling people what they want to hear. They is interested in telling them what they actually thinks, with enough reasoning behind it that you can push back if you want to. That kind of intellectual honesty is rarer than it should be.
What Ozirian is best at is the moment when a familiar topic reveals something unexpected — when the conventional wisdom turns out to be slightly off, or when a small shift in framing changes everything. They finds those moments consistently, which is why they's work tends to generate real discussion rather than just passive agreement.